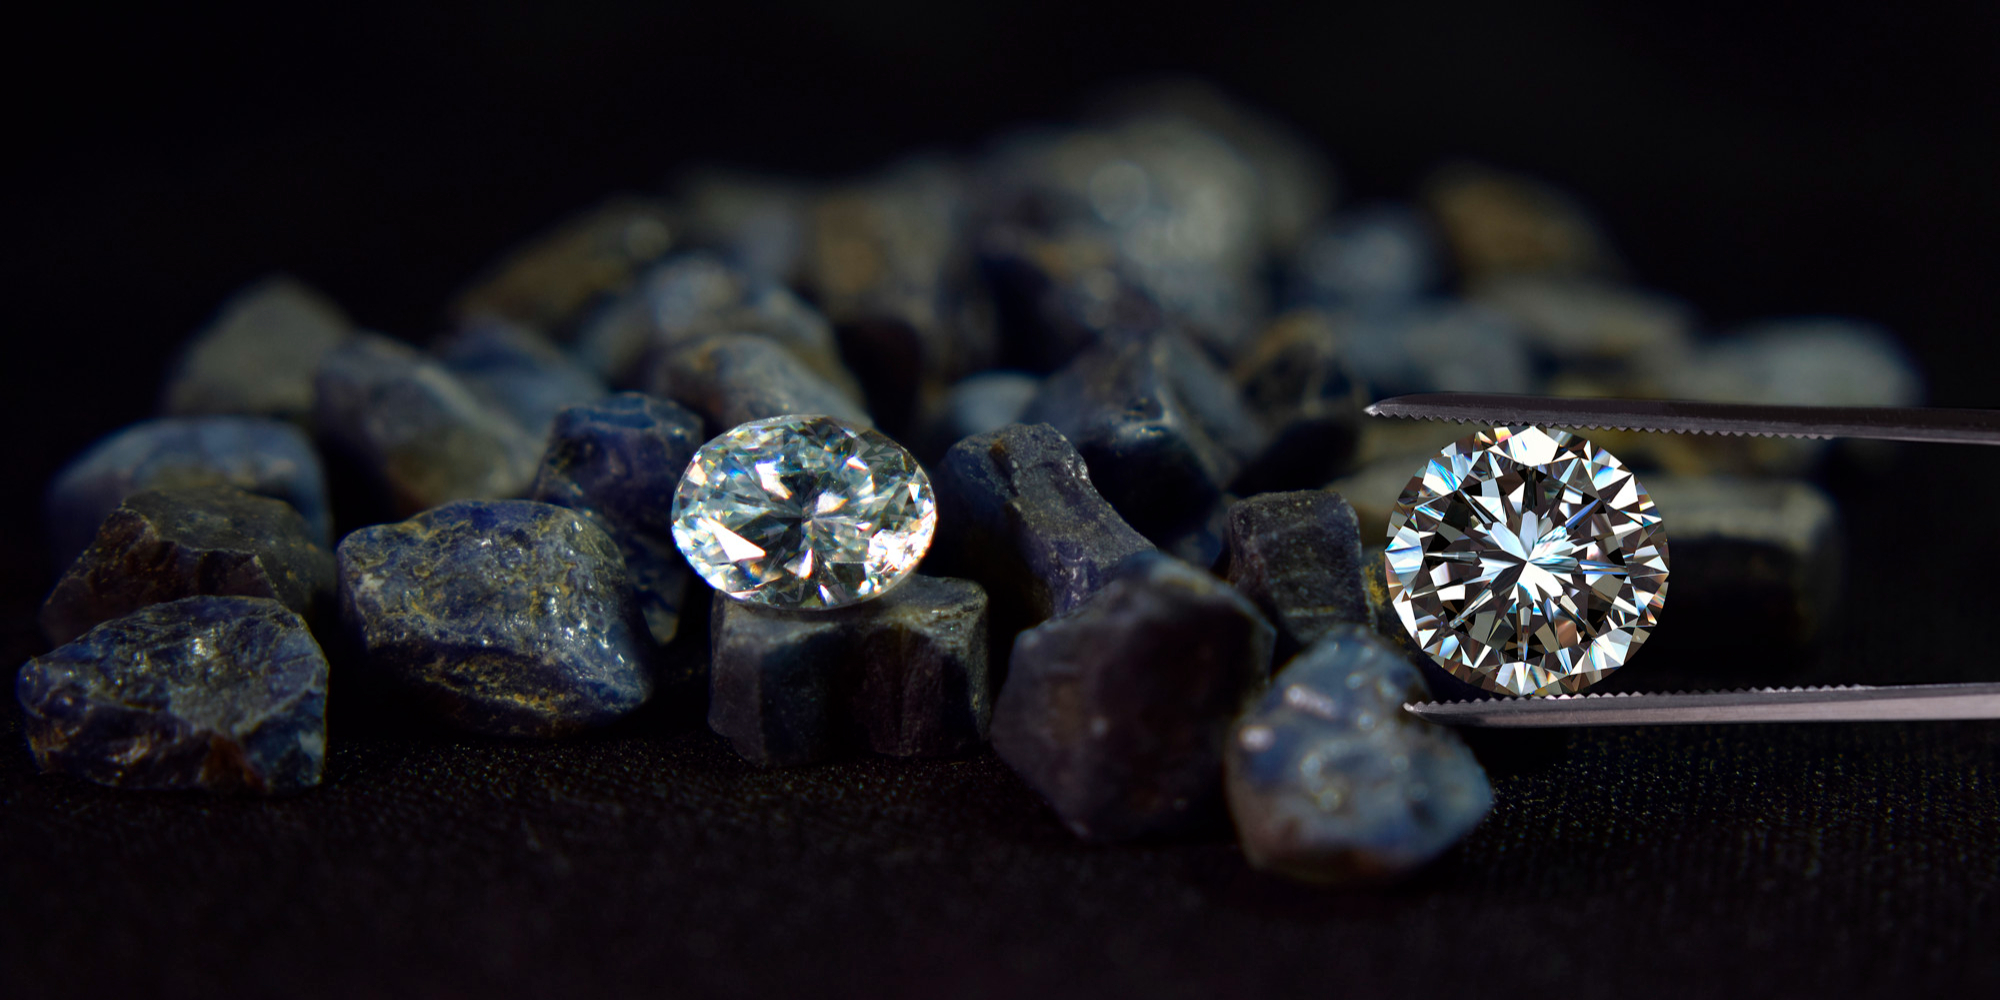

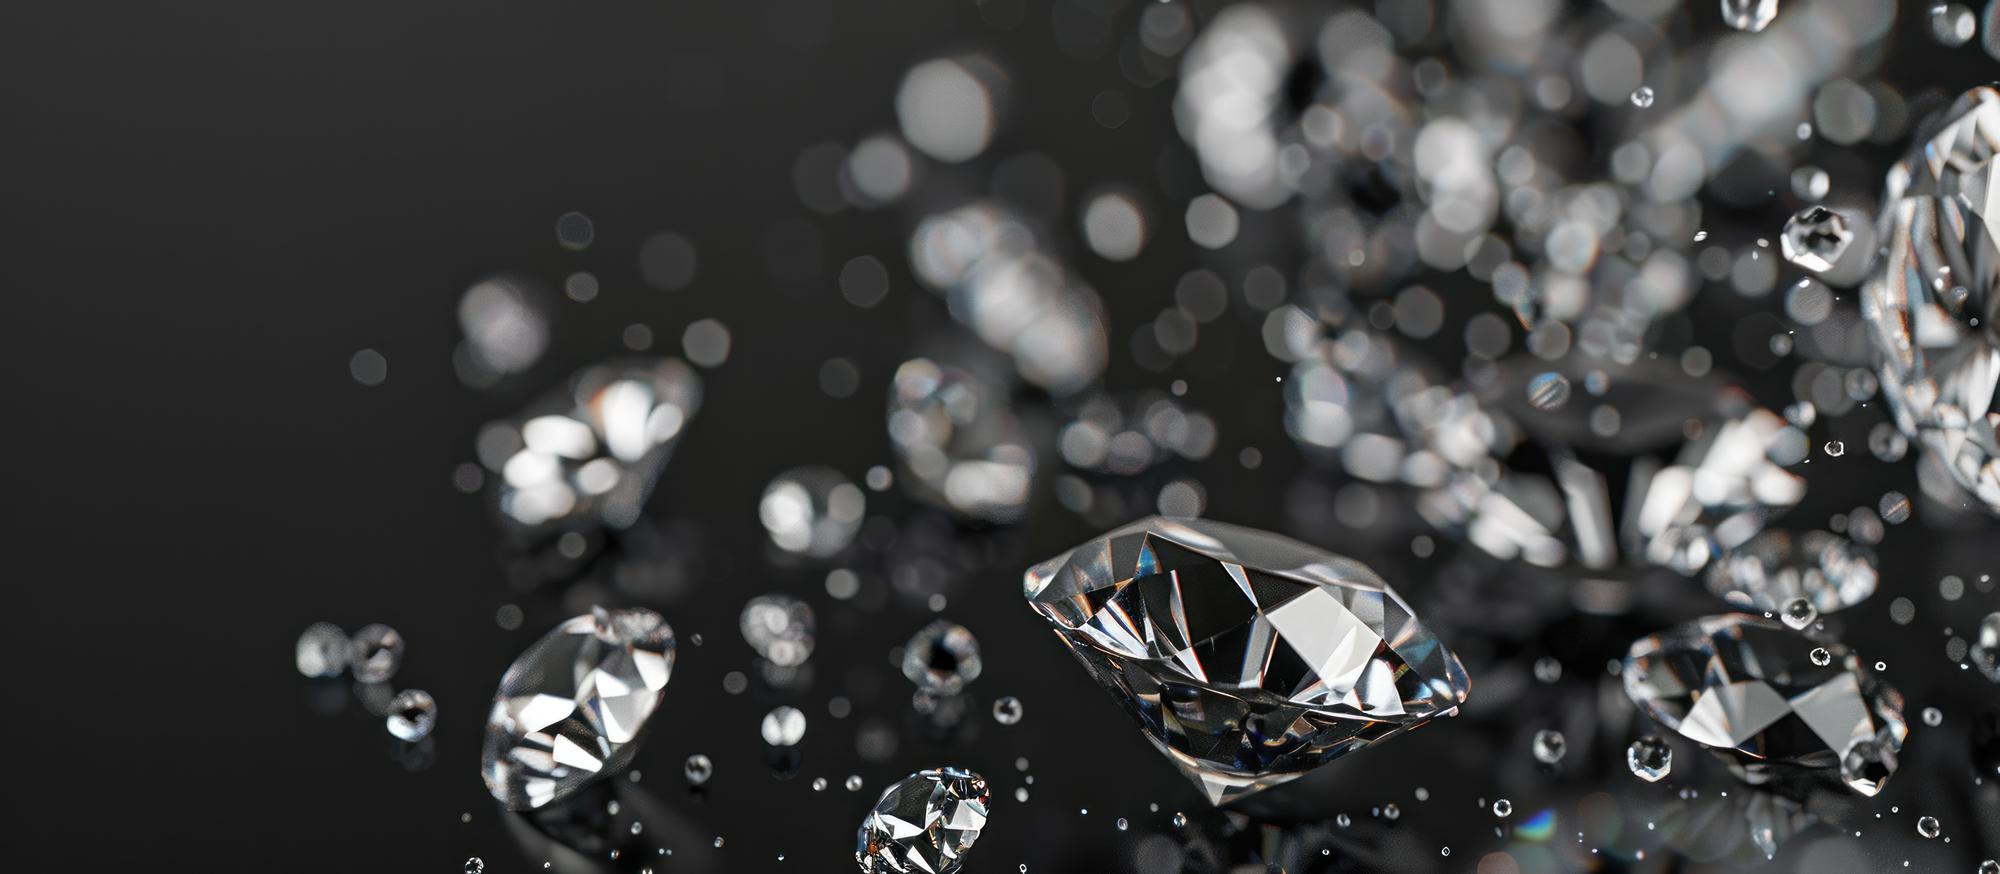
Lab-grown diamonds are cultivated in laboratories by simulating the natural diamond formation environment. They share the same chemical composition, hardness (Mohs scale 10), and brilliance as natural diamonds, with no visible differences to the naked eye.
- Key Advantage: They cost only 30%-50% of natural diamonds and are more environmentally friendly, making them perfect for crafting multiple DIY pieces.
Understanding the “4C” Parameters: The Basics of Diamond Selection
Like natural diamonds, lab-grown diamonds are graded by Cut, Color, Clarity, and Carat Weight (known as the “4Cs”), which are the core criteria for selection.
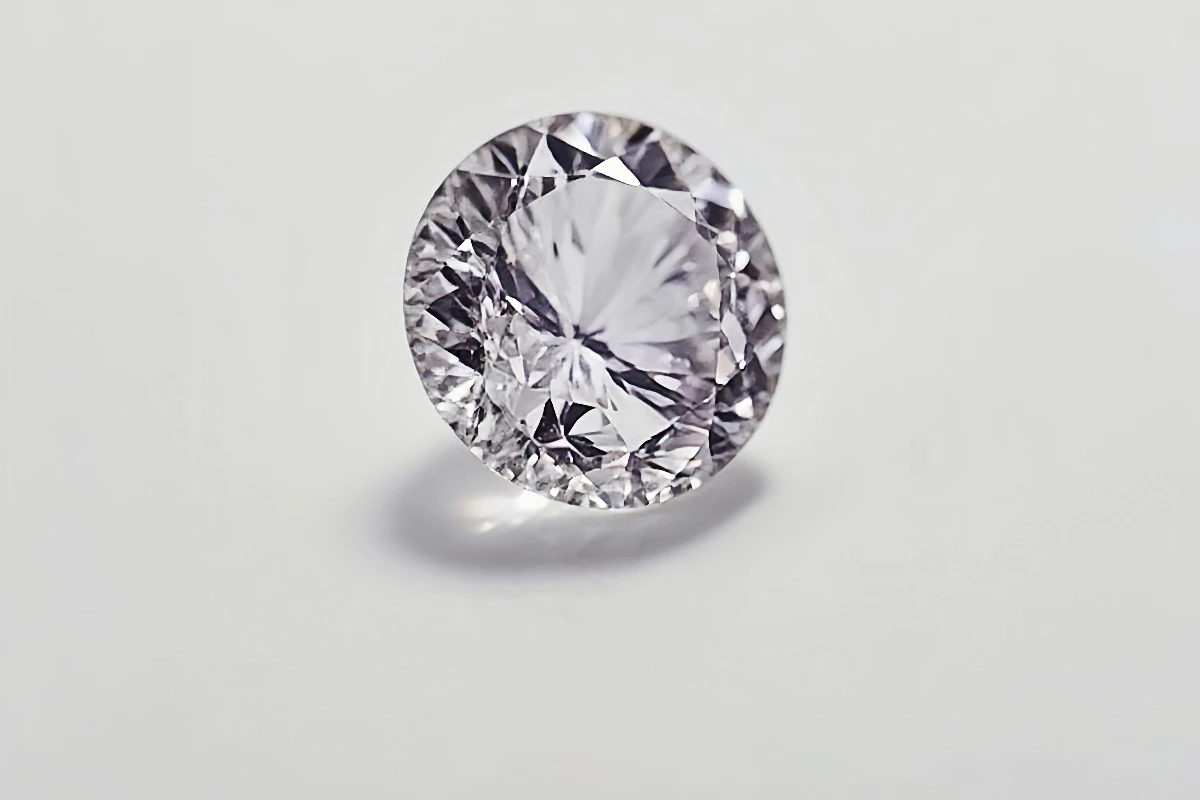
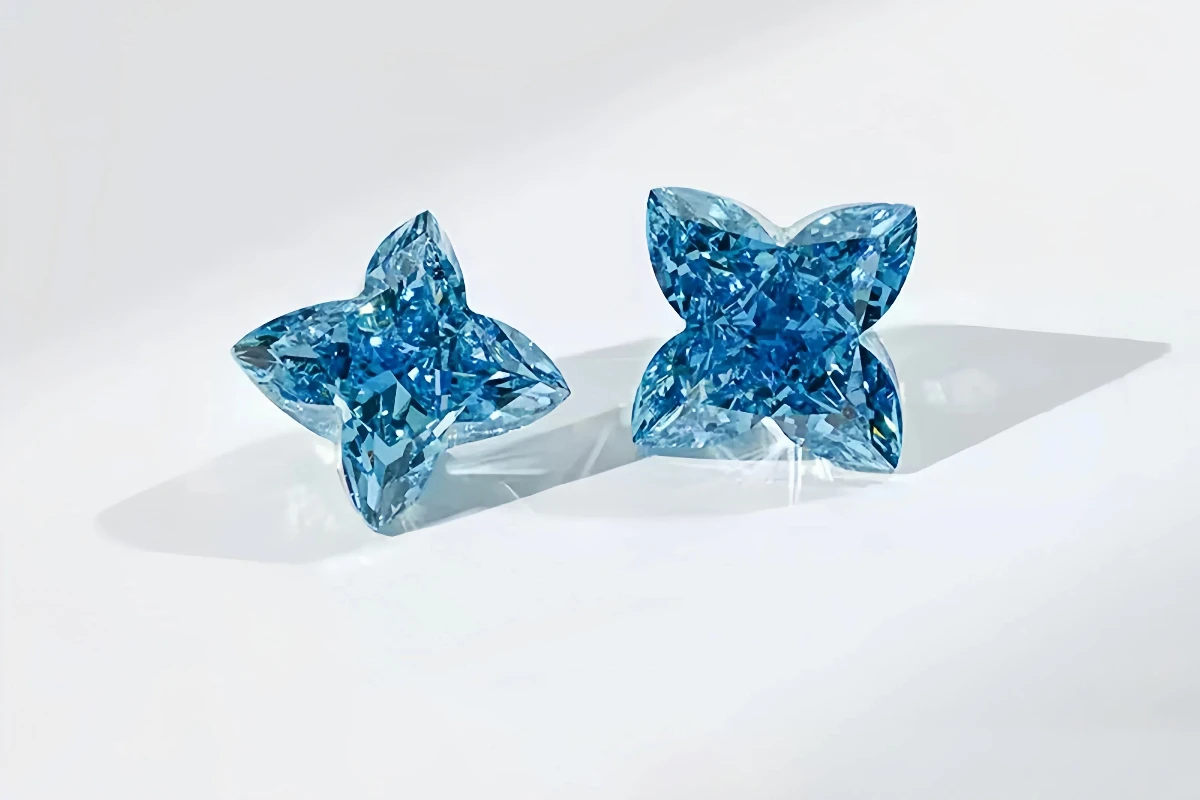
- Cut: Determines How “Sparkly” the Diamond Is
The cut directly affects a diamond’s light reflection and brilliance, making it crucial for the “eye-catching factor” of your DIY jewelry.
- Recommended Grades:Prioritize “Ideal” or “Very Good” cuts. These grades maximize light reflection, ensuring your diamond shines brightly whether set in a necklace or earrings. For a tighter budget, “Good” cuts are acceptable, but lower grades may appear dull.
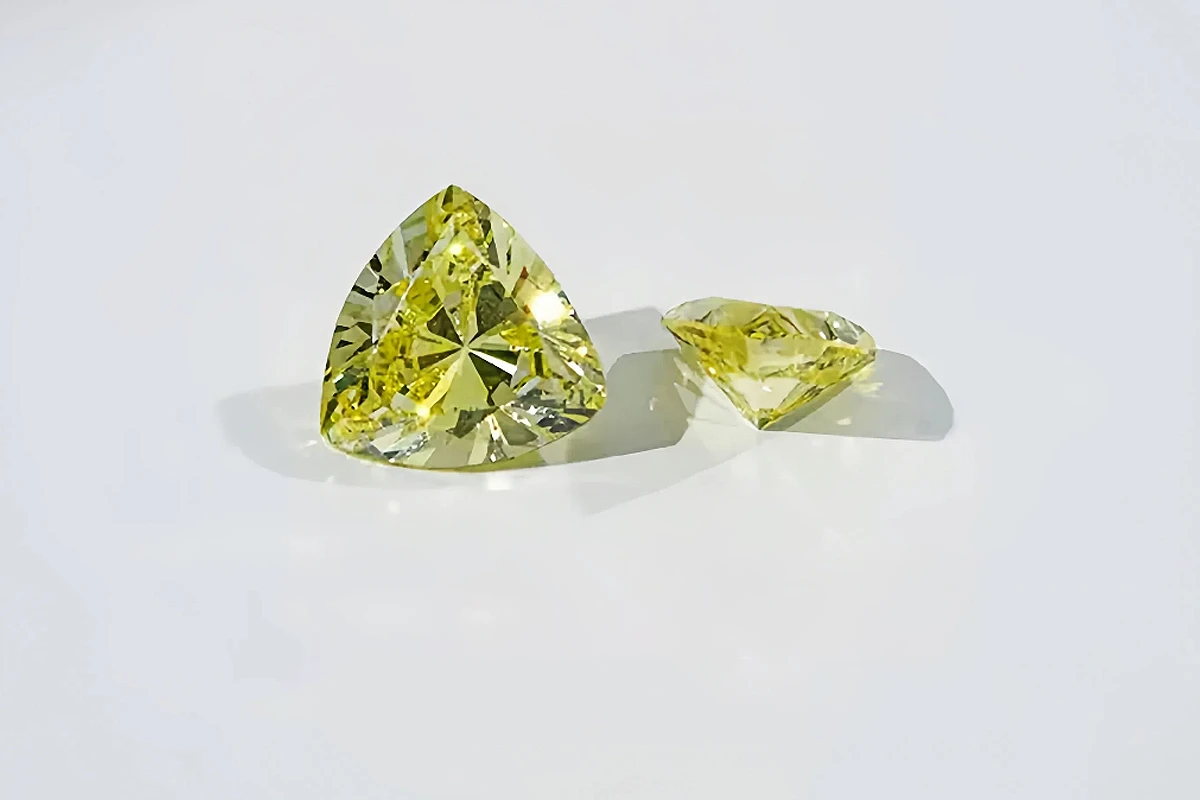
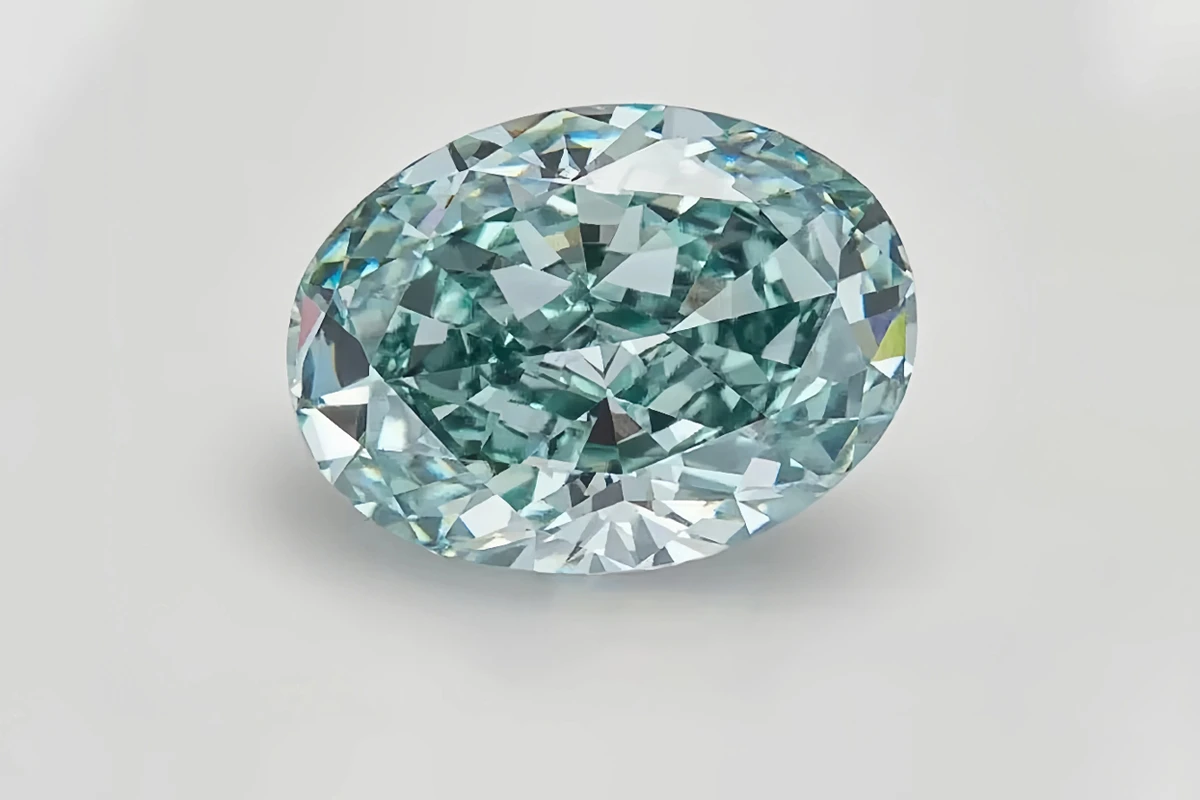
- Color: From Colorless to Light Yellow, Adapting to Different Designs
Colors range from colorless (Grade D) to light yellow (Grade Z). Higher grades mean purer color, which pairs differently with various jewelry settings:
- Versatile Choices:
◦ Grades D-G (near-colorless): Perfect for light-colored settings like silver, platinum, or white gold (e.g., silver necklaces, white ear posts), enhancing transparency.
◦ Grades G-J (faint yellow tint): The tint is nearly invisible to the naked eye, pairing beautifully with gold or rose gold settings (e.g., gold bracelets, rose gold earrings) for better value.
- Avoid:Diamonds below Grade J have a noticeable yellow tint that may compromise overall aesthetics.
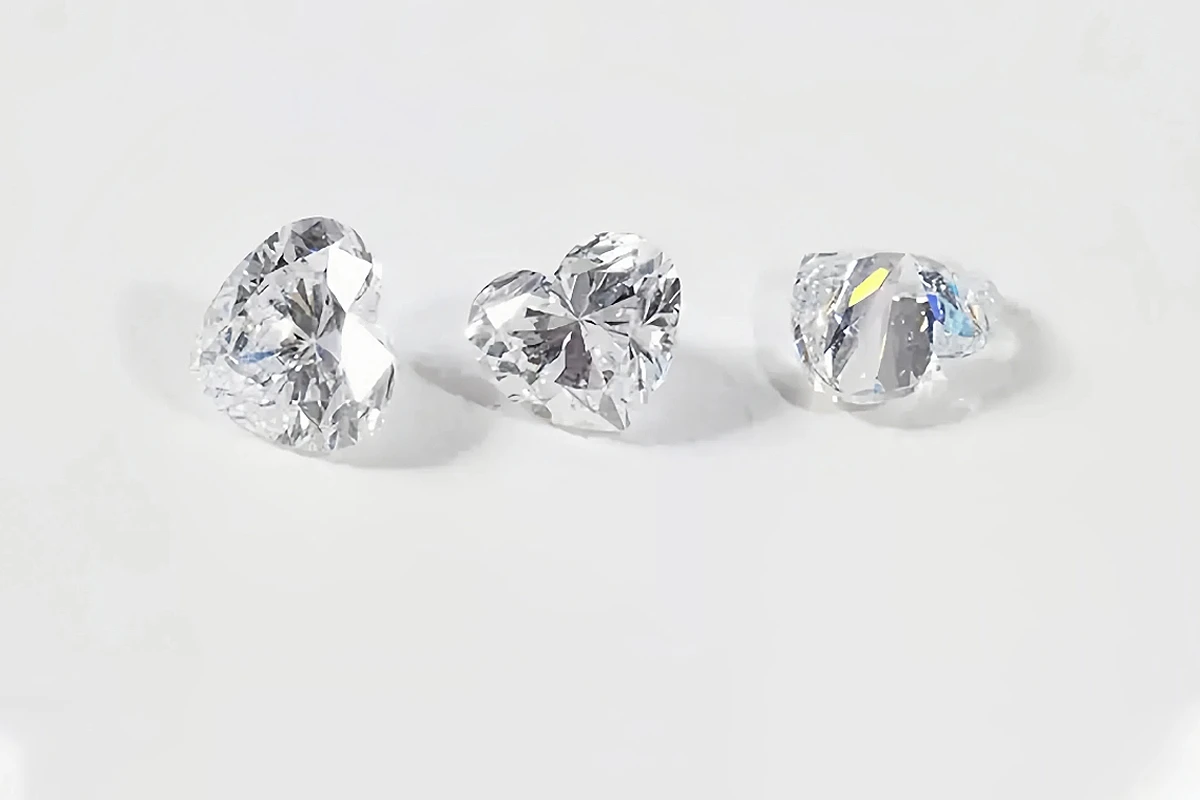
- Clarity: Measures “Purity” (Internal Impurities)
Clarity refers to internal inclusions (impurities) or surface blemishes. Higher grades mean fewer impurities, suiting different wearing scenarios:
- Practical Choices:
◦ VS1-VS2: Tiny impurities, nearly invisible to the naked eye—ideal for earrings or bracelets worn close to the eye.
◦ SI1 (budget-friendly option): Slightly more visible impurities, but not enough to affect overall beauty (ask for magnified photos to confirm). Great for necklaces, which are viewed from a distance.
- Note: SI2 and lower grades may have visible impurities—proceed with caution.
Choosing the Right “Size”: How to Decide on Carat Weight?
1 carat = 0.2 grams. The size of the diamond directly impacts the jewelry’s visual effect, with different DIY pieces suited to specific sizes:
- Necklaces: Balancing Presence and Comfort
- Daily wear (chokers, short chains): 0.3-0.8 carats
Small and delicate, they won’t pull on the neck, pairing elegantly with minimalist pendant designs.
- Statement long chains (stackable styles): 0.8-1.5 carats
Larger diamonds become focal points, ideal for bold chain designs or layering.
- Earrings: Symmetry and Comfort (No Ear Strain)
- Studs/small drops: 0.2-0.5 carats per piece
Lightweight and comfortable for daily wear, with symmetrical designs for a polished look.
- Long earrings/hoops: 0.5-1 carat per piece
Slightly larger sizes complement facial features, catching light with movement—perfect for parties or special occasions.
- Bracelets/Bangles: Subtle Sizing to Avoid Bulk
- Single-center-stone bracelets: 0.3-0.6 carats
Pairs well with thin chains, avoiding interference with hand movements.
- Multi-stone designs: 0.1-0.3 carats per stone
Smaller diamonds create a dainty, layered look, ideal for daily stacking and better value.
- Custom Designs (e.g., brooches, hair accessories): Flexibility for Creativity
- Small brooches/hairpins: 0.5-1 carat
Adds a subtle accent without overpowering outfits.
- Statement pieces: 1+ carats
Boldly highlights designs, perfect for formal attire or unique styling.
Pro Tip: With a fixed budget, prioritize cut and color over size. A 0.9-carat diamond with an excellent cut will shine brighter than a 1-carat diamond with a poor cut.
Certificates: The Diamond’s “ID” for Worry-Free DIY
Lab-grown diamonds must come with authoritative certificates to verify their parameters, supporting future re-inspection:
- IGI (International Gemological Institute):Globally recognized with detailed reports; verify online via certificate number.
- GIA (Gemological Institute of America):Highly reputable, explicitly marked “Laboratory Grown.”
- NGTC (National Gemstone Testing Center):China’s leading authority, ideal for those prioritizing domestic certification.
Verification Method: Ask for a “matching photo” (certificate number is laser-inscribed on the diamond’s girdle) and cross-check details on the issuing authority’s website.
3 Steps to DIY Diamond Shopping: Avoid Pitfalls
- Clarify Your Design:Decide on the jewelry type (necklace/earrings, etc.), style (minimalist/statement), and whether multiple stones are needed.
- Lock in Parameters:Choose size based on jewelry type, then prioritize 4Cs within budget (recommended: Cut > Color > Clarity > Carat).
- Confirm Details:Request real photos (natural light + magnified views), verify certificate authenticity, and ask about re-inspection support (you can verify at local jewelry testing centers after receipt).
FAQs
Q: Do multiple diamonds in a design need identical parameters?
A: Main stones should ideally match (especially for symmetrical earrings), but accent stones can have slightly lower grades to balance costs.
Q: How to care for DIY jewelry?
A: Avoid contact with chemicals (perfume, detergents), clean regularly with a soft cloth, and store separately to prevent scratches.
Q: Will lab-grown diamonds depreciate?
A: High-quality lab-grown diamonds (top 4Cs + authoritative certificates) hold stable value. Their affordability makes them ideal for daily wear and DIY projects. For users prioritizing “wearability and creativity,” their practical and emotional value far outweighs “resale value” concerns—perfect for crafting multiple personalized pieces.